Showing posts with label canning. Show all posts

Monday, June 13, 2011

Low Sugar Rhubarb Jam

Some people consider Memorial Day Weekend to be the kick-off for summer, but for me it is when I make my first jam of the season.  My daughter had asked me to make rhubarb jam for her that was lower in sugar and didn't have strawberries.  After looking through dozens of recipes I found only one that used a lower amount of sugar... crazy.  I would have thought that there would be more than that!  Even the Sure-Jell website failed me at having a recipe!  So after doing a bit of experimenting I made nine successful half pints of rhubarb jam.... it is tangy with just a bit of sweetness to take off the harsh bite plain rhubarb can have. I was a bit paranoid making my own recipe without the use of pectin so I did include Sure-Jell and did a water bath.
Reduced Sugar Rhubarb Jam
12 cups fresh rhubarb cut into 1-inch pieces
3 cups granulated sugar
1 package Sure-Jell for less or no sugar need recipes
1 tablespoon butter (optional)

Directions:
Place rhubarb in a deep stainless steel pot (I get splattered with less hot jam using a deeper cooking pot!) and mix with the three cups of sugar.  Cover and let set overnight.
Over medium heat, cook rhubarb until tender and the mix has slightly reduced and thickened, about 15 minutes.  Add the pectin and mix thoroughly.  Cook for one more minute then remove from heat.
Immediately ladle into prepared jars, filling to within 1/8 inch of tops. Wipe jar rims and threads. Cover with two-piece lids and lightly screw on the lid. Place jars on  rack in canner. Lower rack into canner making sure the jars are covered by water one to two inches above the jars..Bring water to a boil and process 15 minutes. . Remove jars and place upright on a towel to cool completely. After jars cool, check seals by pressing middles of lids with finger. If lids spring back, lids are not sealed  and product must be refrigerated.

Wednesday, September 15, 2010

Daring Kitchen September Challenge: Food Preservation Bruschetta

Print Friendly and PDF

The September 2010 Daring Cooks’ challenge was hosted by John of Eat4Fun. John chose to challenge The Daring Cooks to learn about food preservation, mainly in the form of canning and freezing. He challenged everyone to make a recipe and preserve it. John’s source for food preservation information was from The National Center for Home Food Preservation.

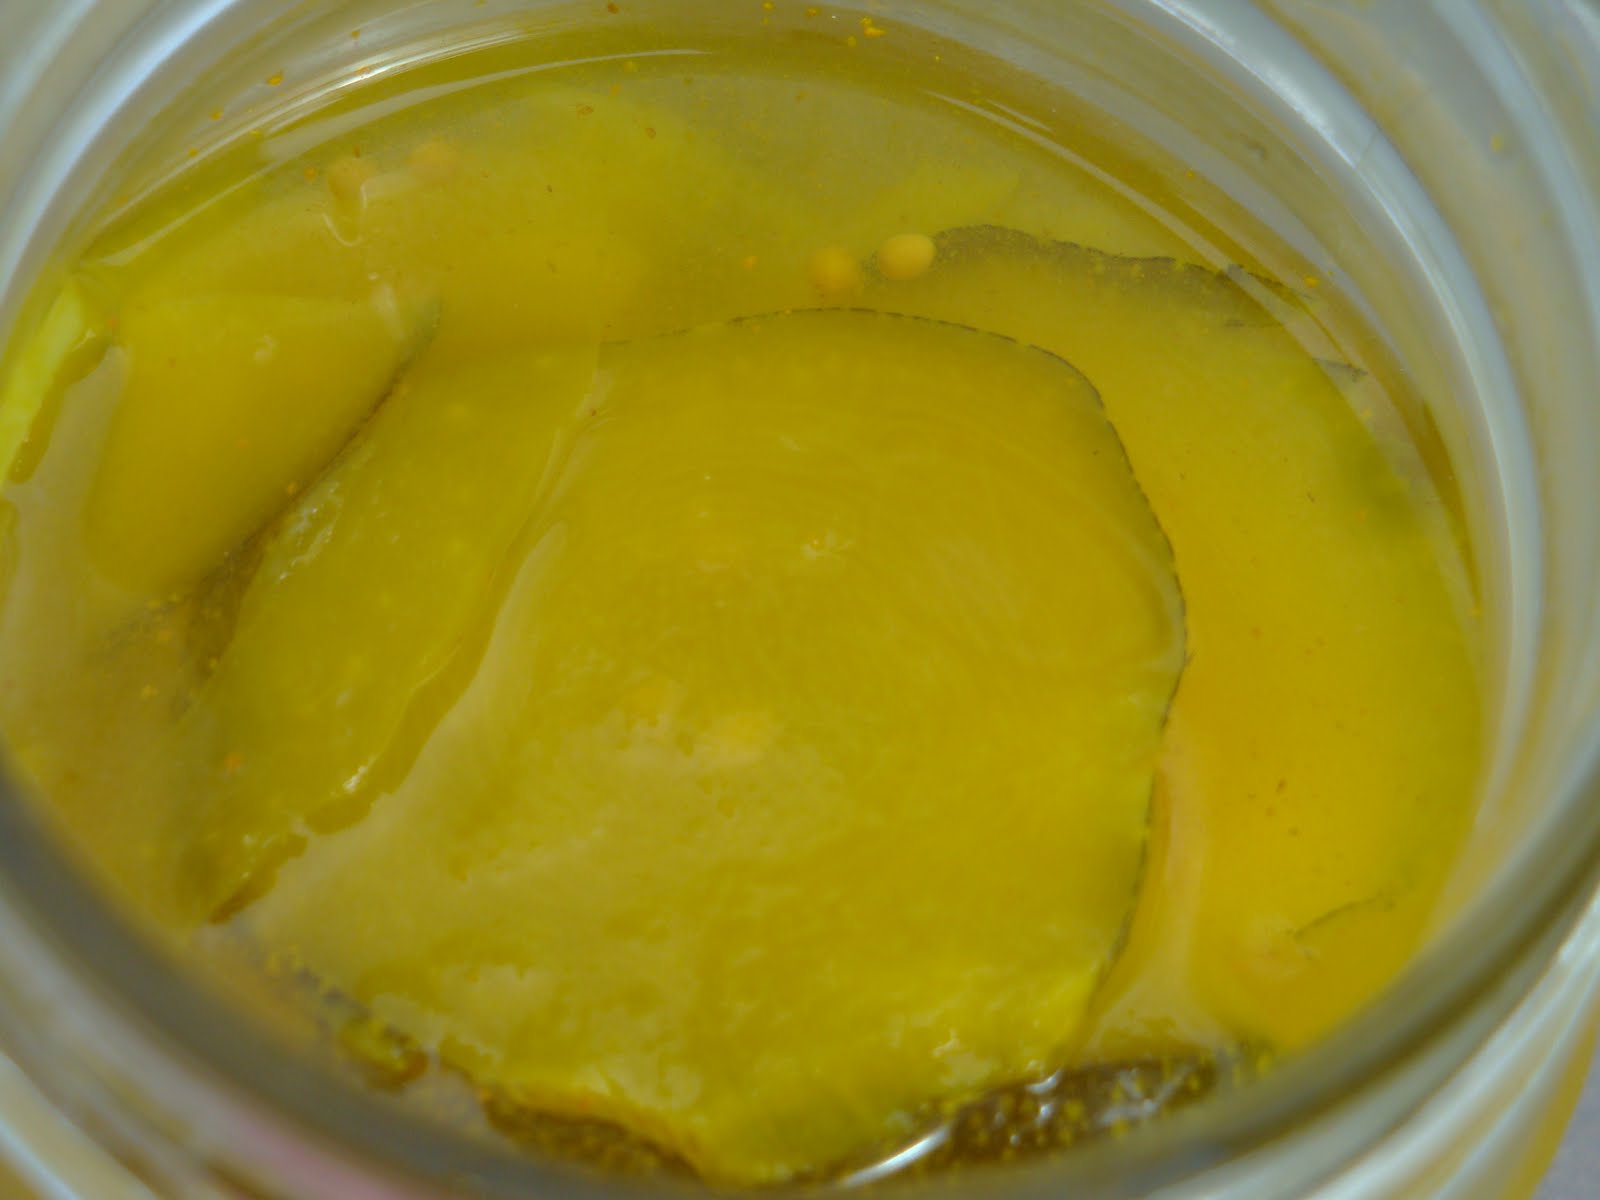
I'm an experienced canner, although I've only recently began to try my hand at processing condiments.  Of the two choices we had, I opted to try my hand at making the bruschetta (the other choice was apple butter which I make quite often.).

This recipe was a true success! My mom and I ate an entire jar for dinner one night and it was amazing! Served over a nice crisp baguette, slightly toasted, with an additional topping of basil and you had a bite full of heaven!

The recipe for Bruschetta in a Jar  came from the Bernardin Canning website.

Bruschetta in a Jar

Plum/Roma Tomatoes * 3 1/2 lbs 1.6 Kg 20 Medium Wash, seed and chop
Fresh Garlic 5 Cloves Minced
Dry White Wine 1 Cup 250 ml
White Wine Vinegar 1 Cup 250 ml
Balsamic Vinegar 2 Tbl 30 ml
Sugar, Granulated 2 Tbl 30 ml
Dried Basil 2 Tbl 30 ml
Dried Oregano 2 Tbl 30 ml

* Note: Although other tomato varieties may be used, firm plum tomatoes yield the best results. If using round garden-variety tomatoes, seed tomatoes and drain in colander for 30 minutes then chop.

Directions:
Place 7 clean half-pint (250 ml) mason jars on a rack in a boiling water canner; cover jars with water and heat to a simmer (180°F/82°C). Set screw bands aside. Heat lids in hot water, not boiling (180°F/82°C). Keep jars and sealing discs hot until ready to use.


1. Wash, seed and chop tomatoes into 1/2 inch (1cm) pieces; measure 9 cups (2250 ml), set aside.

    
2. Combine garlic, white wine, wine vinegar, balsamic vinegar, water, sugar, basil and oregano in a deep stainless steel saucepan. Bring to a full boil; reduce heat. Stirring occasionally, boil gently, covered, 5 minutes. Remove from heat.


 3. Pack tomatoes into a hot jar to within 3/4 inch (2 cm) of top rim. Add hot liquid to cover tomatoes to within 1/2 inch (1 cm) of top rim (headspace). Using nonmetallic utensil, remove air bubbles and adjust headspace, if required, by adding more tomatoes and hot liquid. Wipe jar rim removing any food residue. Centre hot sealing disc on clean jar rim. Screw band down until resistance is met, then increase to fingertip tight. Return filled jar to rack in canner. Repeat for remaining tomatoes and hot liquid.


 4. When canner is filled, ensure that all jars are covered by at least one inch (2.5 cm) of water. Cover canner and bring water to full rolling boil before starting to count processing time. At altitudes up to 1000 ft (305 m), process –boil filled jars – 20 minutes.

     Processing Time:
    20 minutes for altitude of 0 ft (0 m) to 1,000 ft (305 m)
    25 minutes for altitude of 1,001 ft (305.1 m) to 3,000 ft (915 m)
    30 minutes for altitude of 3,001 ft (916 m) to 6,000 ft (1,830 m)
    35 minutes altitudes above 6,000 ft (1,831 m) to 8,000 ft (2,440 m)

6. When processing time is complete, remove canner lid, wait 5 minutes, then remove jars without tilting and place them upright on a protected work surface. Cool upright, undisturbed 24 hours; DO NOT RETIGHTEN screw bands.

7.  After cooling check jar seals. Sealed discs curve downward and do not move when pressed. Remove screw bands; wipe and dry bands and jars. Store screw bands separately or replace loosely on jars, as desired. Label and store jars in a cool, dark place. For best quality, use home canned foods within one year.

Serving Suggestions:
With boiling water canning, very little oil is used since the oils can weaken the seals on the jar. You can top your Bruschetta, olive oil and fresh herbs can be added before serving on top of toasted bread or as a condiment to a dish.  This also tastes delicious over fresh pasta or fish.

Wednesday, August 25, 2010

Zucchini, zucchini, zucchini! : Marmalade and Pickles

Print Friendly and PDF
My in-laws are awesome.  They grow a garden and I get the fruits of their glory :-)  I must confess though.... I am getting a bit zucchini(ed) out.  The rest of the zucchini I get will be frozen for future baking adventures.

Amply supplied though, I was able to experiment this year.  Previously I posted the recipe for some amazing zucchini relish (which I ended up making a second batch to have on hand!) and today I will share with you the recipes for the Zucchini Marmalade and Zucchini Pickles.  The marmalade is awesome tasting, even if it didn't quite jell to the consistency I like.  The pickles are pretty good, too. Although, the pickles don't quite have the zing to them that I like a pickle to have. 

yummy looking, isn't it!
Zucchini Marmalade
2 lbs zucchini or Summer squash
juice of 2 lemons, seeds removed
1 teaspoon grate lemon zest (yellow rind portion)
1 13.5 oz can crushed pineapple, drained
1 package Certo (or other powdered pectin)
5 cups sugar (no substitute)
2-3 tablespoons candied ginger, finely minced  (I had to substitute with 1/2 tsp ground ginger)
5-6 1/2 pint canning jars

Directions:
Have ready 5-6 1/2 pint canning jars, washed and sterilized .
Wash the zucchini, peel and slice. In a non-aluminum kettle, combine lemon juice, lemon zest (the lemon zest is the yellow portion of the peel which has all of the white parts removed), and the drained pineapple (save the pineapple juice for something else).
Bring to a boil and immediately lower the heat to a simmer. Cook for 15 minutes, uncovered, stirring occasionally.
Stir in pectin and boil again. Add sugar, ginger, and continue to boil the mixture for another minute, stirring all the while.
Remove kettle from heat, skimming off any foam which rises to the surface. Allow to cool 5-10 minutes. Ladle into hot sterile jars and seal according to manufacturer's directions.
Process for 5 minutes in a boiling water bath canner.


Zucchini Pickles
2 pounds zucchini or summer squash, sliced, about 7 cups
2 medium onions, halved and sliced, about 2 cups
1/4 cup salt
2 cups white vinegar
1 to 2 cups sugar
1 teaspoon celery seed
1 teaspoon turmeric
2 teaspoons mustard seed

Directions:

Place squash and onions in a large non-reactive pot; add the salt and enough water to cover. Let stand for 2 hours; drain well. In a 2-quart saucepan, bring remaining ingredients to a boil; pour over the squash and onions. Let stand for 2 hours. Bring to a boil for 5 minutes; pack in hot sterilized jars and seal; process according to jar manufacturer's directions or process pints or quarts for 10 minutes from 1 to 1,000 feet, 15 minutes from 1,001 to 6,000 feet, or 20 minutes above 6,000 feet in altitude.
Makes about 3 pints.

Saturday, August 21, 2010

Peach Mango Salsa

Print Friendly and PDF

Costco sells this Peach Mango Salsa that my son really loves, but I'm not in love with the price! I was able to get my hands on some ripe peaches and thought I would try my luck at canning my own peach mango salsa. I found a recipe at allrecipes.com for Peach Salsa II but it wasn't quite what I was looking for so I scoured the Internet and read a few other recipes and made my own. Please use your own wisdom when trying someone's home canning recipes. Its always best to check with your extension office to see if a recipe is safe before using! Thanks.  This recipe is heavenly! I used up an entire jar at our pinochle party!

Peach Mango Salsa

3 cups fresh peaches - peeled, pitted and chopped
1 mango - peeled, pitted and chopped
1 medium sized sweet onion, chopped
1 red bell pepper, chopped
1 yellow bell pepper, chopped
1cup diced roma tomatoes
4 jalapeno peppers, minced
1/4 cup chopped fresh cilantro
6 cloves garlic, minced
1 1/2 teaspoons ground cumin
1/4 cup distilled white vinegar
1 teaspoon grated lime zest
juice of one lime
1/4 cup white sugar
1 (49 gram) package fruit pectin crystals
3 1/2 cups white sugar
5 pint sized canning jars

Directions
     Sterilize jars and lids.
     In a large saucepan, combine peaches, mango, tomatoes, onion, pepper, cilantro, garlic, cumin, vinegar, and lime zest, lime juice. Stir together pectin and 1/4 cup sugar. Bring to a boil, and stir in remaining 3 1/2 cups sugar. Boil for 1 minute, stirring constantly. Remove from heat, and stir for 5 minutes.
     Pour peach mango salsa into prepared jars, leaving 1/4 inch air space. Seal, and process in a boiling water bath for 15 minutes.
putting my mom to work!

Saturday, August 7, 2010

Zucchini Relish

Print Friendly and PDF

This week I'm putting up some items with the bountiful garden harvest my friends and family have shared with me.  First up is this Zucchini Relish - let me honest with you, when I was a kid the closest I would get to eating a zucchini would be if it was in a bread or muffin.  Until my thirties believed that the only good vegetable was one that could be completly disguised or doused with an incredible amount of ranch dressing! Pickles counted as a vegetable for me and so did french fries.  Then all of a sudden I started craving the weirdest things.... things that were green (and no I'm not talking about mold!) things that you could actually count on a food pyramid.  I don't know why my taste changed and I really don't care.  Now I'm just wondering why did I miss out on so much yumminess before??  There are still some things I dislike (brussel sprouts, asperagus and cauliflower come to mind) but in my new fascination with flavors of the healthy kind, I'm trying things I never tried before. 

I have never made relish but it seemed simple enough to try.  My in-laws have a garden and their zucchini is abundant so when asked if I wanted some I eagerly nodded my head up and down.  I looked through several different zucchini relish recipes and leaned towards this one with a few modifications.  Please make note.... I am not a professional.  You try these recipes at your own risk (I always wanted to use that disclaimer!! LOL) If you have questions about canning preserves it is best to ask your home extension office.

Zesty Zucchini Relish
(adapted from Ball Complete Book of Home Preserving for quantity)

6 c zucchini, finely chopped
2 c onion, chopped (I used red onion as it was what I had on hand)1 1/2 bell peppers, seeded & chopped (I like the red and yellow bell peppers so that is what I used )
2 1/2 T canning salt
1 1/4 c sugar
1 1/4 c white vinegar
1/2 T nutmeg
1/2 T ground turmeric (careful, this stuff will turn your plastics yellow!)
2 T prepared horseradish  (I wanted it to be more zesty so I used 4 tablespoons)
1 jalapeno, including seeds chopped  (one wasn't enough for me so I used two jalapenos)

In a stainless steel bowl put the zucchini, onion, peppers & salt  and cover.  Let sit for 12 hours or overnight at room temperature. Drain & rinse with cool water. Squeeze out as much liquid as possible with your hands.

Place the drained vegetables in a large stainless steel or enamel saucepan. Add the sugar, vinegar, nutmeg, turmeric, horseradish & chili pepper. Bring to a boil. Reduce & allow to simmer for about 45 minutes stirring from time to time. It is done most of the liquid has been reduced & it has the consistency of a thin relish.

Prepare 5 half-pint jars by boiling them for 20 minutes. Boil the lids for five.
Fill the hot jars with the hot relish leaving 1/2-inch head space. Clean the rims. Put the top on & hand screw on the neckbands. Place the jars back into the boiling water & process for 15 minutes. Turn off the heat & let sit for 5 more minutes. Remove the jars, do not dry them, and let them sit for 12 - 24 hours to cool. If the top does not pull downwards the relish has not been processed properly, either refrigerate and use or reprocess.

  Ok, those are the instructions one should follow.  However, I read the directions incorrectly and accidently added all the ingredients together and instead of tossing it out and doing over I just let the entire mixture set over night.  Flavor wise it was spot on and since I had it cooking at a high temperature for the 45 minutes I wasn't too concerned.  It is yummy good!