Showing posts with label main dish. Show all posts

Monday, April 16, 2012

SRC: Betsylife Pasta with Asparagus

The best part of SRC (secret recipe club) is getting to experience all the fabulous blogs out there.  The worst part.... deciding which of their fabulous dishes I want to try.  This month I had the privilege of getting Betsy's blog, Betsylife.  She also is working on food styling and her blog clearly shows her talent in that.  I'll patiently pause here so that you can view her blog and see for yourself how accurate of a description that is :-)   Gorgeous pictures and many healthy choices to choose from.

I needed to take a dish to a family gathering so decided on making her Pasta with Asperagus I made a few changes but nothing too drastic.  While this was delicious as it was, I had to add bacon (sorry, it was written in the marriage vows that all meals must include bacon)  it really didn't need it.  But while I'm thinking of it,some added chicken breast would make an meat lover happy in this dish.  Betsy used this as a meal in itself but I used it as a side pasta salad.  Either way works pretty darn good!

Pasta with Asparagus and Parmesan
8 ounces uncooked whole wheat penne pasta
1 tablespoon kosher salt
2 tablespoons olive oil
2 1/2 cups (1-inch) slices asparagus (about 1 pound)
1 cup chicken broth (substitute vegetable stock for vegetarian option)
1 tablespoon grated lemon rind
3 garlic clove, minced
1/4 teaspoon ground cayenne pepper
1/4 cup (1 ounce) grated fresh Parmesan cheese
salt and pepper to taste
1/4 cup bacon crumbles

Directions
Cook Pasta according to package directions using the 1 tablespoon of kosher salt in the water.
Add oil to pan medium size skillet and heat over medium high heat. Add asparagus to pan and cook tender, (this took me about 4 minutes.) Don't overcook the asparagus as you still wants some crispness to them. lly. Remove asparagus from pan and set aside. Add broth, lemon rind, and garlic to the pan; allow the liquid to reduce by half (about 5-7 minutes). Return asparagus to pan, add pasta, salt,pepper, cayenne and bacon; toss well. Top with freshly grated Parmesan cheese.

Tuesday, January 3, 2012

Chicken Piccata

I think we eat more chicken than any other meat.  It gets old very quick, so I am always on the lookout for something new to try.One of my favorite food magazines is Cuisine at Home.  It reminds me of what Taste of Home magazine used to be....before they made a bunch of revisions.  I found a recipe for Chicken Piccata that sounded good (if you omit the capers... YUCK!) so I added it to this month's menu.  It was pretty yummy and, aside from the time it took to pound out, went relatively quick.  Even my finicky son liked it and that's saying something!! 
The original recipe serves two but I had to make enough for eight people.  
I've typed out the recipe for making 4 servings.  I also had to do double pans so 
my pictures will be from one or other pan I used.  Sorry!
 Chicken Piccata
Makes 4 servings
adapted from Cuisine at Home magazine

4 boneless, skinless chicken breast, cut in half
and pounded into cutlets
Salt and black pepper
All-purpose flour
4 tablespoon vegetable oil
1/2 cup dry white wine
1 teaspoon minced garlic
1 cup chicken broth
2 tablespoons fresh lemon juice
2 tablespoon drained capers (which I left out!)
4 tablespoons unsalted butter

Directions
Season cutlets with salt and pepper, then dredge in flour.
In a large saute pan, add oil and heat over medium high heat.
Saute cutlets 2-3 minutes on one side.  Flip cutlets over
and saute the other side, covered, 1-2 minutes. Transfer
cutlets to a warmed platter; pour off fat from the pan.

Deglaze pan with wine and add minced garlic. Cook until garlic is slightly
 brown and liquid is nearly evaporated, about 2 minutes.
Add broth, lemon juice and capers (if you want them).
Return cutlets to pan and cook on each side for 1 minute.  
Transfer cutlets to warm plates.
Finish sauce with butter.  Once butter melts, pour sauce
over cutlets.
Garnish with chopped fresh parsley and lemon slices (if desired).
Serve immediately.
Print Friendly and PDF

Saturday, September 24, 2011

Bacon and Feta Pasta


One of the best things about the Secret Recipe Club is you get tons of great recipe ideas.  One recipe immediately jumped out at me since it had the words bacon and pasta in the title. The recipe is from Crumbs and Chaos, but I had to make several adjustments to make it with the ingredients I had on hand. The original recipe calls heavy cream and I like to substitute evaporated milk when asked for in sauces.


Bacon and Feta Pasta
8 ounces pasta of choice  (I used linguine)
8 ounces bacon, cooked and crumbled
1/4 onion, diced
3 cloves garlic, chopped
6 tablespoons evaporated milk
4 stems of fresh thyme, leaves removed
4 ounces mushrooms, sliced
salt and freshly ground black pepper
2 ounces feta cheese, crumbled with additional for topping if desired 


Directions:

     Cook pasta to al dente according to the package directions.  
While the water is boiling, heat a large skillet over medium heat.            

Add sliced bacon and cook until crisp.  Remove to a paper towel lined plate and set aside.  Wipe skillet out with a paper towel.
Add butter to skillet and melt over medium-low heat. Add mushrooms.  When the mushrooms are soft, add garlic, thyme and evaporated milk.  When the milk, is warm, add feta and stir gently until melted.  Season with pepper and add bacon back to pan.
Add cooked pasta to the sauce and toss to coat.  
Serve immediately with feta sprinkled on the top.

Monday, August 22, 2011

Secret Recipe Club: Mahogany Pork and Veggies with Oven Baked Polenta


Its time again for the great "Secret Recipe Club" reveal.  If you haven't heard about SRC, it is another food challenge.  SRC assigns you a blog, which you secretly lurk on to, and find a recipe to make for yourself. This month the Secret Recipe Club assigned me http://pennypinchingprovisions.blogspot.com .
I had a great time browsing through her website and making a final decision on what to make was difficult.  Since I had never tried polenta before, I decided to go with her dish of Mahogany Pork and Veggies with Oven Polenta.  While I did make a few adjustments, I pretty much stuck with her recipe and everything was amazing!  My hubby can be a rather fussy eater and even he said to make everything again!  
I had a bigger piece of pork loin so I doubled the marinade and added half into a bowl of the meat, and the other half I used to marinate the vegetables.  For the polenta I used the sharp cheddar I had on hand instead of the Parmesan cheese. Thank you for giving me a new meal to put on our food rotation.  Absolutely fabulous! 

Mahogony Pork and Veggies
see the original recipe here
2 pound pork tenderloin, cut into strips
3 tablespoons olive oil
2 tablespoons brown sugar
4 teaspoons soy sauce
2 teaspoons hot pepper sauce
4 cloves garlic, minced
1 large red onion (I just cut the onion into 1/8 chunks)
2 large red or orange bell peppers, sliced

Directions:
Slice vegetables and Combine brown sugar, soy sauce, hot pepper sauce, olive  and garlic: mix and set aside
In a medium bowl add the peppers and onion and pour half of the marinade over it.  Mix together and set aside.  In another bowl add the meat, add some fresh ground black pepper (to taste) and pour the remaining marinade over the meat; toss to coat.  Let set for no longer than 1/2 hour.

Preheat skillet to Medium-High... you want a nice hot pan so that the vegetables will slightly carmalize and not steam cook.  Add the vegetables with the marinade and cook about 8 minutes, stirring occasionally, until tender.  Remove, cover and keep warm

Let the pan preheat again, add meat to the skillet, cook about 5 minutes.  Stir occasionally until done. Pour meat over veggies to serve.

Oven Polenta
1-1/2 cup chicken or vegetable broth (I used chicken broth)
1 cup milk
1/2 cup cornmeal
1 Tbl olive oil
1/4 tsp salt
1/4 cup shredded sharp cheddar cheese
Preheat oven to 350* Grease 8x8 dish. Combine all ingredients except cheese. Bake 50 minutes, stirring once.Stir in cheese. Bake 10 more minutes. Let stand 10 minutes before serving.  We didn't wait the ten minutes... we were too hungry!


Wednesday, July 13, 2011

calico beans


Whenever there is a family event that gathers for food... I mean, festivities, you can always count on there being calico beans. Why this is such a time honored fan favorite i have no idea.  Ok, maybe it has something to do with bacon... maybe it has a lot to do with bacon, I mean, our family is pretty much obsessed with bacon! 
But I also think it has something to do with the rustic feel of it.  That and the fact that you can use pretty darn near any type of bean you have in your pantry.  We like it with a mix of kidney, lima and pork and beans but I've also made it with white beans, garbanzo (which I confess was not a real winner), and pinto.  When the kid were younger they disliked the lima beans so I would often just use two cans of pork and beans and one can kidney beans so as you can see its a fairly adaptable recipe. When doubling the recipe I will use a blend of five different beans
Calico Beans
1 pound bacon, cooked, drained and crumbled
1 pound ground beef
1 small onion, diced
3 cans of beans, rinsed and drained if necessary (Pork and beans don't get rinsed)
1 cup ketchup
3/4 brown sugar (use less if you want it to be less sweet)
1 teaspoon salt
2 teaspoons dry mustard
3 tablespoons vinegar (I like to use cider vinegar)

Directions:
Cook the bacon over medium heat and cook till done.  Drain off all but a tablespoon of grease and cook diced onions until translucent; remove from pan.  Brown ground beef and drain off the grease.

In a two quart casserole dish, medium pot or crock pot, combine beans, meat, onion,bacon and the remaining ingredients.  Mix well.
Bake uncovered for 1 hour at 350 degrees F.
Cook on stove top, uncovered for one hour on medium heat.
Use in crock pot and let simmer for at least 1 hour.

*My husband likes to add 1/4 teaspoon liquid smoke, its optional.

Serves 8

Saturday, June 25, 2011

Monthly Challenge Blogaversary: Black Bean Enchiladas


The June Monthly Challenge was to recreate a recipe from the blog.  I chose the Black Bean Enchiladas that had originally been posted in May of 2009. 

The changes I made was to use the entire recipe for the black bean mixture, made more own corn tortillas and enchilada sauce.
The recipe is from the Food Network Magazine  and can be found here.  The used the black bean mixture for two recipes; once for burgers and then using the remaining mixture for the enchiladas.  I used all of the recipe for the enchiladas... I like ours filled! The bean recipe by itself was rather bland and I would definitely have to spice it up if I was to use it in burgers.  However, the enchilada sauce I used worked well with it and gave it lots of flavor.

Black Bean Burgers:

  • 1/2 medium yellow onion, roughly chopped
  • 1 tablespoon chopped garlic
  • 2 (15-ounce) cans black beans, rinsed and drained, divided
  • 2 tablespoons freshly chopped cilantro leaves
  • 2 teaspoons freshly chopped parsley leaves
  • 1 egg
  • 1/2 teaspoon red pepper flakes
  • 1/2 cup bread crumbs
    • 8 corn tortillas
    • 1 cup leftover black bean burger mixture
    • 1 can enchilada sauce (or try my recipe which follows!)
    • 1/2 cup shredded Cheddar
    • Salt and fresh ground black pepper
  • In a food processor, pulse onion and garlic until finely chopped. Add 1 can black beans, cilantro, parsley, egg, and red pepper flakes and pulse to combine.
    Transfer mixture to a large mixing bowl, add the remaining can of black beans and the bread crumbs. Season with salt and pepper, to taste, and mix until well combined.
    Preheat oven to 350 degrees F.
    Pour half the of the enchilada sauce into the bottom of a baking dish.
    Warm tortillas by wrapping in a damp paper towel and heating in microwave for 45 seconds or until soft and pliable.
    Place 2 tablespoons of black bean burger mixture onto the bottom third of a tortilla. Roll the tortilla up and place seam side down into the baking dish. Repeat with remaining black bean burger mixture and tortillas. Pour the remaining enchilada sauce over the filled tortillas. Top with the Cheddar and bake in the preheated oven for 15 to 20 minutes or until the cheese is browned and bubbly.
  • this is my recipe for Enchilada Sauce.... I have had it for years and don't recall where the recipe came from

1 tablespoon vegetable oil
1 onion, diced or minced whichever you prefer
3 tablespoons chili powder
3 cloves garlic, minced
2 teaspoons cumin
2 teaspoons sugar
15 ounce can tomato sauce or 2 (8-ounce) cans if that's what you have on hand
1/2 cup water
salt and pepper to taste
     Heat the oil and and cook the onion until it is soft.  Add the chili powder, garlic, cumin and sugar,tomato sauce and water.  Simmer and cook until it is thickened. 

Sunday, March 14, 2010

The Daring Cooks’ Challenges 03/10: Risotto

The 2010 March Daring Cooks challenge was hosted by Eleanor of MelbournefoodGeek and Jess of Jessthebaker. They chose to challenge Daring Cooks to make risotto. The various components of their challenge recipe are based on input from the Australian Masterchef cookbook and the cookbook Moorish by Greg Malouf.

Yes!!! After giving it considerable thought (ok, it pertains to food so maybe not that much thought! I signed up at the daring kitchen to be part of their daring cook and daring baker challenges. This is my first challenge with the daring cooks challenge and it happened to be one of the foods I favor.... risotto.

You can find Eleanor and Jess, otherwise known as MelbournefoodGeek and Jessthebaker at their websites... I'm sure they would love a visit from you!

The requirements for this month were, and I quote, “You MUST make your own stock and the risotto base. The base consists of wine, rice, oil, stock cheese and butter. Omit the cheese if using seafood or doing something sweet. You can flavour the risotto however you like. Once you have the basic recipe down, you can flavour it in numerous ways. Of course if you can't eat chicken stock, make a stock you can eat. "

Their recipe options, though quite good I imagine, was not what I desired. I decided to make this a true challenge and start from the very beginning with first making a roasted chicken recipe I've been dying to try (to use the carcass for the stock) I made Julia Child's roasted chicken and let me tell you this, hands down it was the best chicken I have ever had. Take a look... doesn't it just scream moist and yummy???? The picture doesnot give it justice, believe me it was everything you could hope a roasted chicken would be!


Next step was making the stock. I used Alton Brown's recipe as the primary base and it was far better than other stock recipes I've tried. So good, in fact, that I can no longer imagine using the stuff from the store! Yes indeed, this will be a regular staple in my freezer.

Chicken Stock

4 pounds chicken carcasses, including necks and backs
1 large onion, quartered
4 carrots, peeled and cut in 1/2
4 ribs celery, cut in 1/2
1 leek, white part only, cut in 1/2 lengthwise
10 sprigs fresh thyme
10 sprigs fresh parsley with stems
2 bay leaves
8 to 10 peppercorns
2 whole cloves garlic, peeled
2 gallons cold water

Directions:

Place chicken, vegetables, and herbs and spices in 12-quart stockpot. Set opened steamer basket directly on ingredients in pot and pour over water. Cook on high heat until you begin to see bubbles break through the surface of the liquid. Turn heat down to medium low so that stock maintains low, gentle simmer. Skim the scum from the stock with a spoon or fine mesh strainer every 10 to 15 minutes for the first hour of cooking and twice each hour for the next 2 hours. Add hot water as needed to keep bones and vegetables submerged. Simmer uncovered for 6 to 8 hours.

Strain stock through a fine mesh strainer into another large stockpot or heatproof container discarding the solids. Cool immediately in large cooler of ice or a sink full of ice water to below 40 degrees. Place in refrigerator overnight. Remove solidified fat from surface of liquid and store in container with lid in refrigerator for 2 to 3 days or in freezer for up to 3 months. Prior to use, bring to boil for 2 minutes. Use as a base for soups and sauces.

*************************************

That was the base recipe I used. I did not have 4 pounds of carcasses so I threw in some chicken thighs and legs, with the skins removed, to equal three pounds. I'll use the chicken meat in a future recipe and I will also remember to save any chicken bones we have in the freezer to use for making more stock!

Julia Child's roasted chicken recipe has you making a "sauce" to go over the meat. It’s pretty basic with chicken stock, fresh thyme and just a bit of the chicken's drippings. This ended up being brown in color and not that impressive as sauces go... The addition of the sauce added nothing to the chicken itself in flavor. I had almost a cup of this sauce remaining so I set it aside to use in with my stock recipe. This tiny bit of sauce made my stock richer in color, which I really liked. I neglected to take a picture of my completed stock and now it’s just a block of stock ice. I'll add a picture the next time I use the stock. These are the delicious ingredients:

and finally...... The Risotto!

Ina Garten has some of the best recipes! I still had one lone butternut squash that I had bought at the farmer's market last fall and face it, the poor thing needed to be eaten before it became overly ripe. Ina Garten's recipe also gave me the opportunity to use the saffron I purchased when I was in Turkey this past September. I've never used pancetta or shallots (not something I generally will keep on hand for budgeting reasons) so for me it was a win, win situation! Oh my, it was yummy! I must confess that the first bite was a bit of a texture difference for me... I can't quite place it, but that first bite just seemed a bit off. The second bite was much tastier and that third bite... well, it was a bit of heaven. The more you ate of it the better the dish tasted!


 Ina Garten's Butternut Squash Risotto                           
 1 butternut squash (2 pounds)
2 tablespoons olive oil
Kosher salt and freshly ground black pepper
6 cups chicken stock, preferably homemade
6 tablespoons (3/4 stick) unsalted butter
2 ounces pancetta, diced
1/2 cup minced shallots (2 large)
1 1/2 cups Arborio rice (10 ounces)
1/2 cup dry white wine ( I substituted with stock)
1 teaspoon saffron threads
1 cup freshly grated Parmesan

Directions

Preheat the oven to 400 degrees F.

Peel the butternut squash, remove the seeds, and cut it into 3/4-inch cubes. You should have about 6 cups. Place the squash on a sheet pan and toss it with the olive oil, 1 teaspoon salt, and 1/2 teaspoon pepper. Roast for 25 to 30 minutes, tossing once, until very tender. Set aside.

Meanwhile, heat the chicken stock in a small covered saucepan. Leave it on low heat to simmer.

In a heavy-bottomed pot or Dutch oven, melt the butter and saute the pancetta and shallots on medium-low heat for 10 minutes, until the shallots are translucent but not browned. Add the rice and stir to coat the grains with butter. Add the wine and cook for 2 minutes. Add 2 full ladles of stock to the rice plus the saffron, 1 teaspoon salt, and 1/2 teaspoon pepper. Stir, and simmer until the stock is absorbed, 5 to 10 minutes. Continue to add the stock, 2 ladles at a time, stirring every few minutes. Each time, cook until the mixture seems a little dry, then add more stock. Continue until the rice is cooked through, but still al dente, about 30 minutes total. Off the heat, add the roasted squash cubes and Parmesan. Mix well and serve.

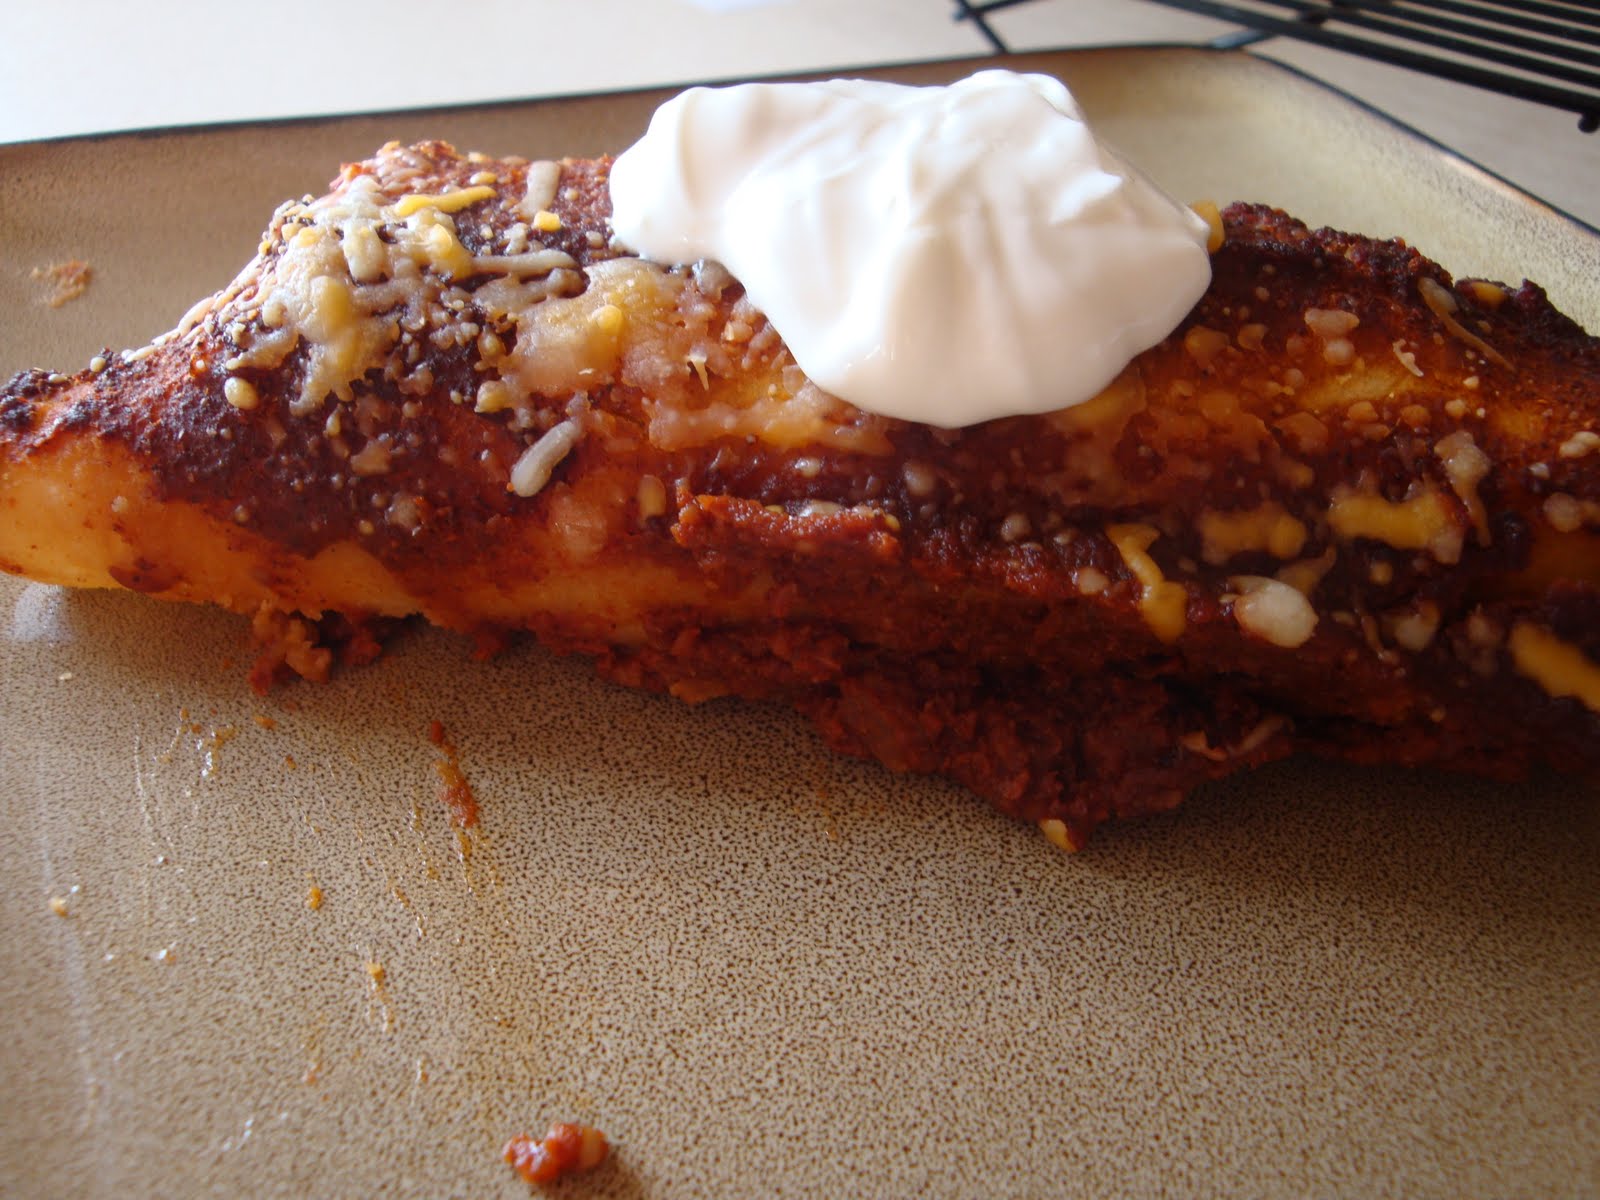
I served the risotto with some pan fried chicken breasts.

There are so many versions of risotto to try from savory to sweet.  While I have always found my timing for risotto to be off from what each recipe says (this one took almost an hour and I'm not sure why!) it is an easier dish to make than one would think.  Honestly, I don't know why the chef's on Hell's Kitchen always have so much problem with it :-)


Print Friendly and PDF